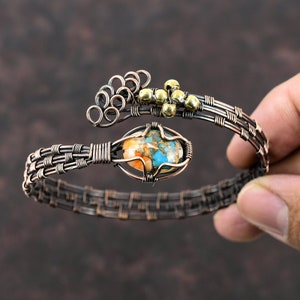
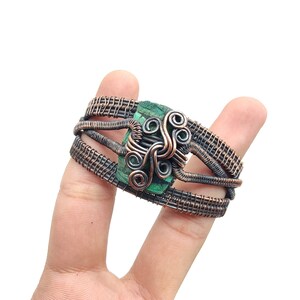
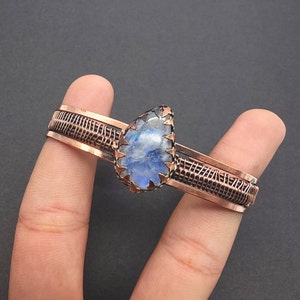
Four of my best-selling wire-wrapped pendant tutorials all in one place, at a 20% discount! Individual descriptions below. See other listings in my shop for more photos of each.
****NOTE: This is a series of Instructions ONLY - the materials and finished products are NOT included in this listing****
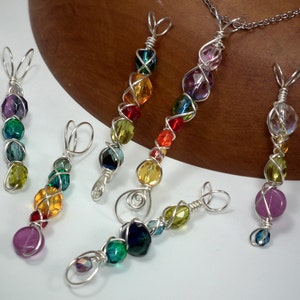
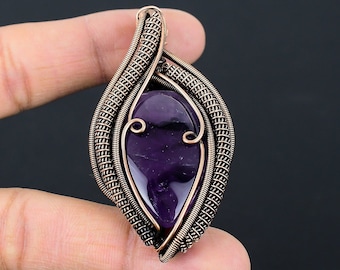
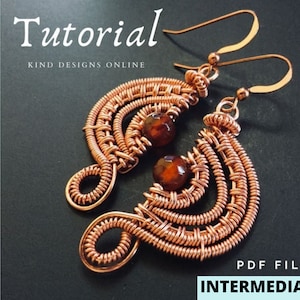
--===== STEPS OF LIGHT =====--
I'm a big fan of techniques that are easily reproduced but still allow for infinite variations to create a project that's different each time. This simple pendant is one such technique!
I call these Steps of Light Pendants because the linear pattern of faceted Czech glass beads is brilliant when it catches the light.
In addition to the pendant design itself, in this tutorial you will learn:
* how to make a bail without special tools
* how to use bail-making pliers
* how to use flush cutters properly
* how to make a spiral in the middle of a wire (not at the end)
With over 100 photos to demonstrate, I make two pendants from start to finish in this tutorial, including three variations on how finish it up for slightly different looks; along with a couple of suggestions for more!
I firmly believe that making jewellery doesn't need to be difficult OR expensive, so in addition, one pendant walkthrough shows how to make a bail with no special tools, while the other shows how to use professional bailmaking pliers.
100+ crisp, close-up photographs in over 60 steps capture the process for making these irresistible little gems.
I write my tutorials for the absolute beginner. Here in addition to the design itself, I talk about creating symmetry with earring designs and how to properly open and close purchased ear-wires.
You'll get a lot of use out of the techniques in this tutorial. Have fun, and share what you make!
To complete this tutorial you should have basic knowledge of wire tools.
****List of Tools and Materials****
15" round artistic wire at 20 or 22 gauge
5-7 faceted round glass beads at 2mm; 4mm and/or 6mm in any colorway
flush cutters
chain nose OR bent chain nose pliers
needle-nose pliers
Bail-making pliers OR a smooth-barrelled pen or pencil
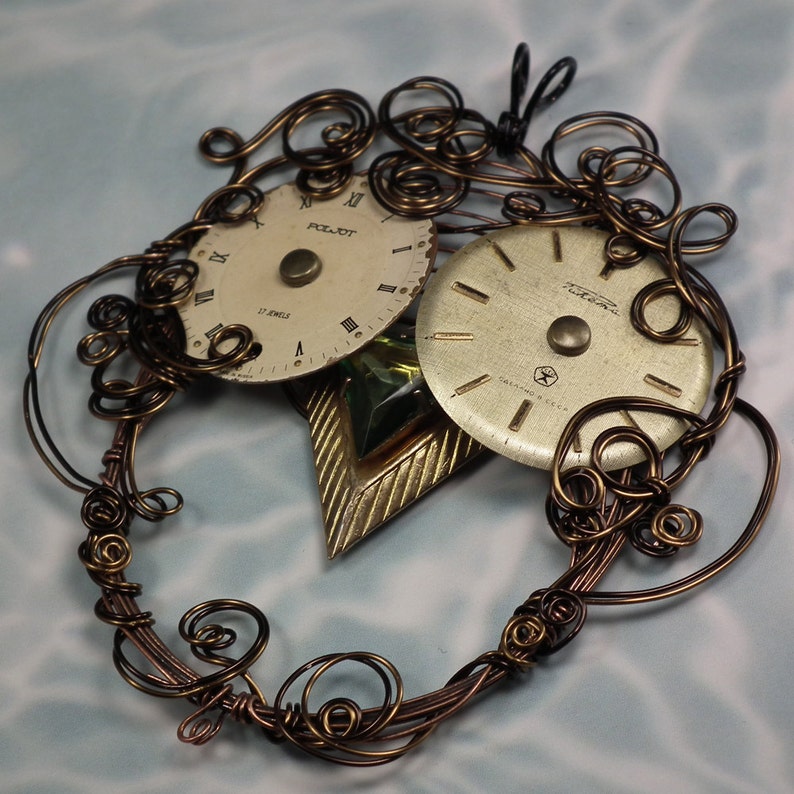
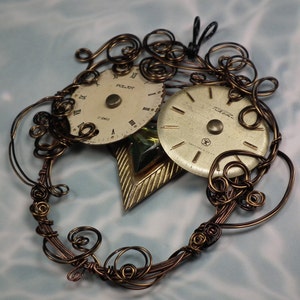
--===== STEAMPUNK OWL =====--
Make use of old earrings, watches, bracelets, and other random metal bits from your stash - or a trip to the thrift store - by assembling them into adorable, steampunk owl pendants!
To complete this tutorial you should have basic knowledge of wire tools and wire wrapping. Over 80 photos show you the basic technique of choosing and tearing down materials, building the owl from various pieces, and creating the decorative wire work.
These little dudes sell before I can get them on the shelves, so I know that whether you're making them for gifts or profit, they're sure to please.
****List of Tools and Materials****
round artistic wire in 22 & 26 gauge
a pointed metal piece (old earrings work well)
2 equal-sized watch faces
a 2-inch round or oval wire piece such as an earring or
bracelet
pronged brads
looped bail (premade or DIY)
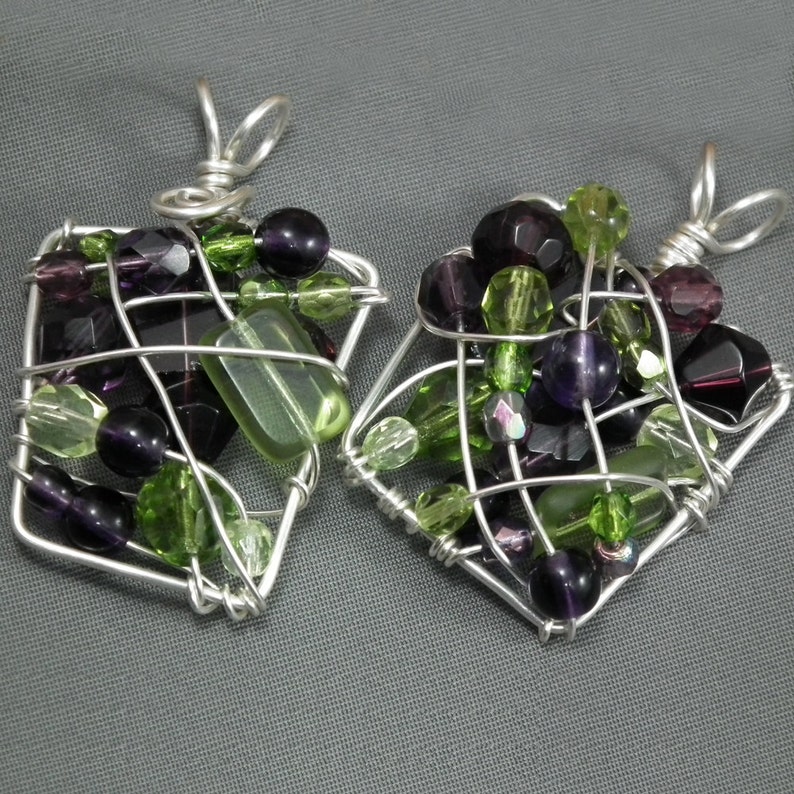
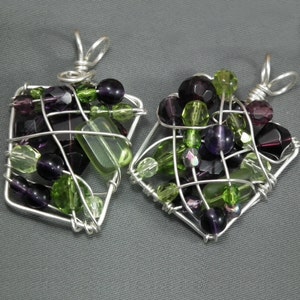
--===== MOSAIC =====--
These simple, free-flowing pendants can pack a big punch! Depending on colour choice you can create a subtle, airy piece, or a highly saturated statement pendant. You can also create different frame shapes for a wildly varying look as shown.
These pendants are quickly made and I've done several sets as bridesmaid's jewelry. It's easy to make matching but different pieces with this method.
My tutorials are thorough, thoughtfully-explained, packed with photos, and written with 12 years of instructing experience.
Whether you're making these for gifts or for sale, they're sure to please!
****List of Tools and Materials****
glass beads in various sizes and any colourway at 2mm-8mm
glass beads in various sizes and any colourway at 2mm-8mm
flush cutters
chain nose OR bent chain nose pliers
round nose OR bailmaking pliers
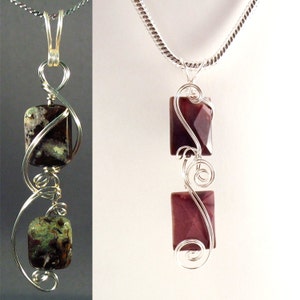
--===== DOUBLE RECTANGLE =====--
The image of the original pendant - the African opal featured on the cover - has been circulating around the internet for years, from my flickr account. Even now, it randomly shows up on my Pinterest page from people I follow. I finally decided to do up some instructions on making a similar pendant, this time out of some painted jasper stones I had.
The pendant comes together quickly, allowing you to showcase two special stones you may have been saving for a rainy day. Only a few techniques are required - using pliers, wrapping one wire around another, and making loops.
In addition to the pendant design itself, in this tutorial you will learn:
* how to make a bail without special tools
* how to make a spiral in the middle of a wire (not at the end)
With over 50 photos to demonstrate, you will find it easy to follow along. I firmly believe that making jewellery doesn't need to be difficult OR expensive, so in addition, this pendant walkthrough shows how to make a bail with no special tools.
I write my tutorials for the absolute beginner.
You'll get a lot of use out of the techniques in this tutorial. Have fun, and share what you make!
To complete this tutorial you should have basic knowledge of wire tools.
****List of Tools and Materials****
round artistic wire, 22 gauge;
two rectangular beads, about an inch long;
flush cutters;
chain nose OR bent chain nose pliers. Round nose pliers might help too!
--===== MY EXPERIENCE =====--
Jewellery Tutorials are a perfect fit for me, which means my tutorials are perfect for you. Here's why:
* I'm a self-taught wire artist, since 1998, so I know what it's like to struggle with a new technique or to work without special tools, and you'll find workarounds in my tutorials. You'll also find many of my techniques are different from the usual since nobody was teaching when I was learning and I had to invent something new every time I was solving a problem!
* My day job is to write course curriculum for online, adult learners, and I'm good at it. So you'll find my tutorials have clear, concise, accurate instructions with photos for every step - even partial steps. I know how to teach you no matter how you learn best! Plus, I make jewellery to sell - and I sell a lot of it - so many of my techniques are designed to efficiently put into production, leading to tutorial stages which you can easily follow.
* I am also a graphic designer, so you'll find a consistent, readable layout on every page, photos that draw your focus to the relevant step, and constant clues to keep your place - even if you forget to staple and the whole thing falls apart!
Look for a unique wire style, lots of color, asymmetry, irregular gemstones, inexpensive non-tarnish wire, some steampunk elements, and even some polymer clay.
You keep reading, and I'll keep looking for exciting new ways to help you make jewellery!